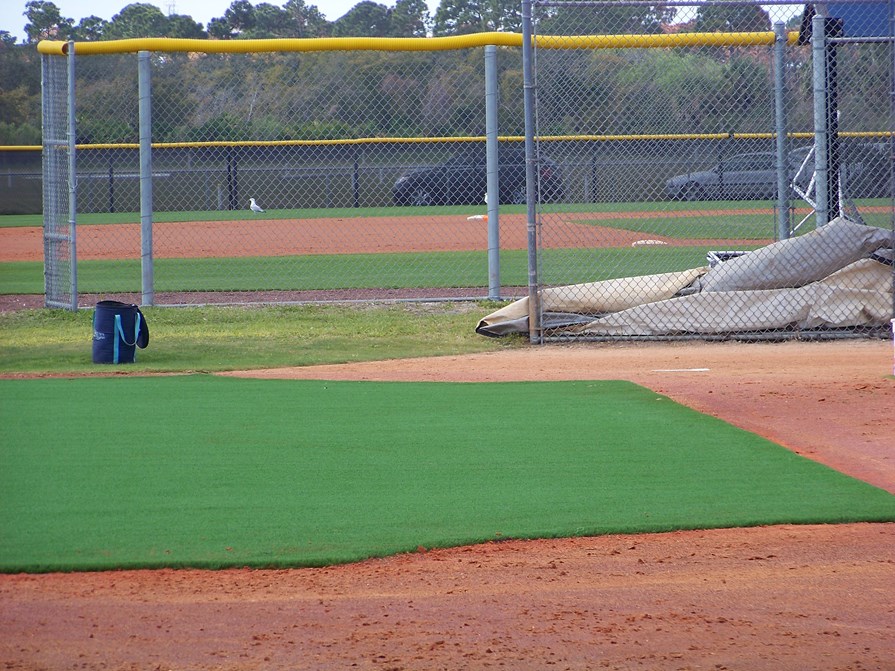
Tampa Bay Rays Half Field Retro-Fit
Port Charlotte, FL, USA
Project Details
- Location
- Port Charlotte, FL, USA
- Project Year
- 2011
Tampa Bay Rays Half Field Retro-Fit UltraBaseSystems® in Cooperation with AstroTurf
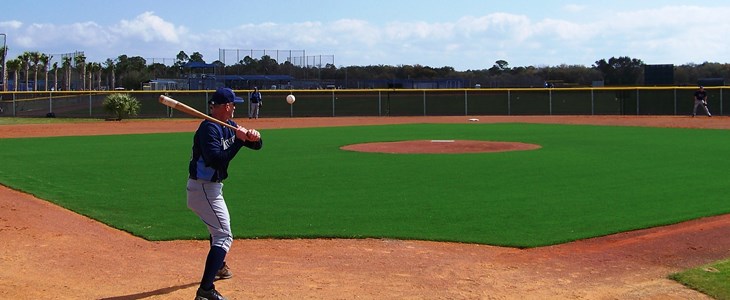
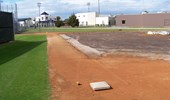
Natural turf half field prior to retrofit.
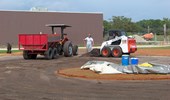
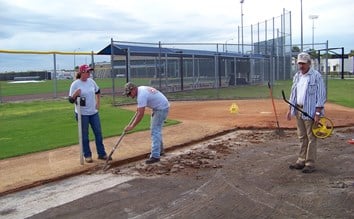
Sod cutting existing turf. Sod is removed. Area is cleaned up and sod and debris are hauled away. Excavation was only necessary due to finished height of synthetic grass being slightly above existing base paths.
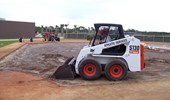
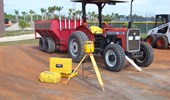
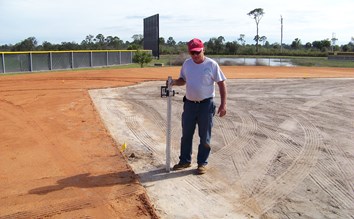
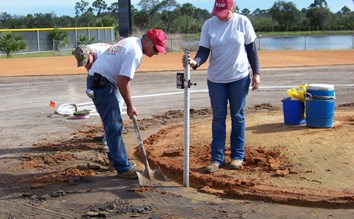
Baselines are marked to maintain proper dimensions. Laser is placed on site to determine proper excavation depth. Perimeter of area is checked for depth. Pitcher’s mound base is checked for depth. A shovel is used to achieve proper depth as a guide. Bob Cat is used to reach final desired depth.
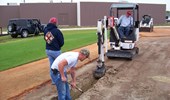
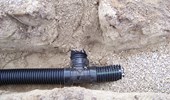
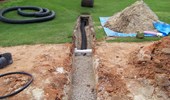
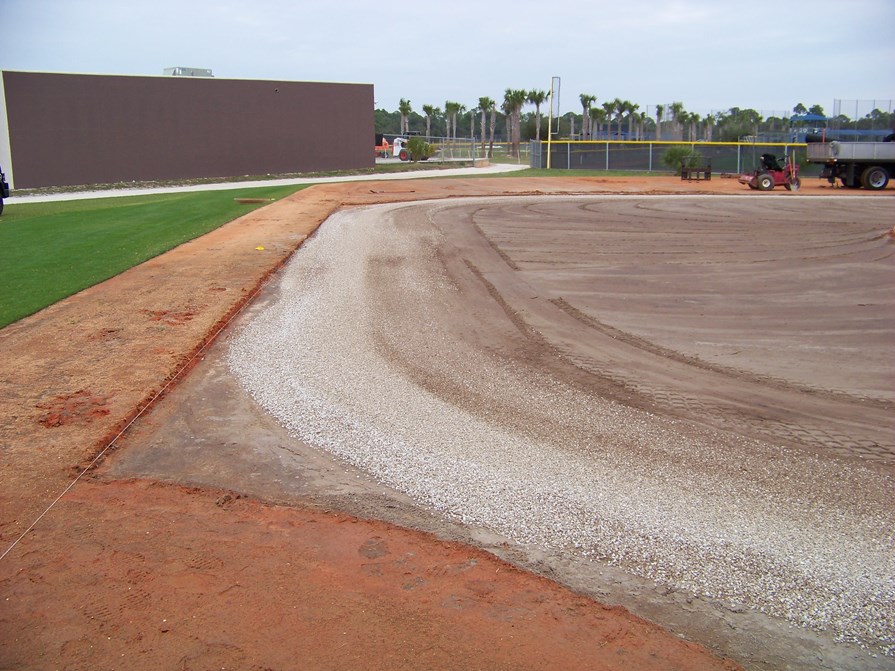
Perimeter drainage trench is dug. Laser guides back hoe to proper depths for water to flow to desired location of field. 5” perforated drain pipe is brought on site. Pipe is placed in trench. Couplers are added to join lengths together. Drain pipe is installed around base path perimeter. #89 stone is used to fill trench.
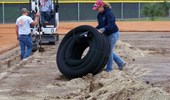
Drain pipe is centered and held in place on bottom of ditch as stone fills in trench. Drain pipe is directed out to water management system. Drain pipe crosses base path and out to water management system. Stone is compacted into trench. Finished grading is completed.
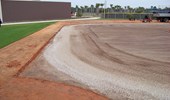
Base area is compacted, smoothed and readied for panel installation. Final hand raking is done. Infield base prep is completed. Elapsed time for base prep without drain system 6 hours – 4 workers; with drain system 12 hours
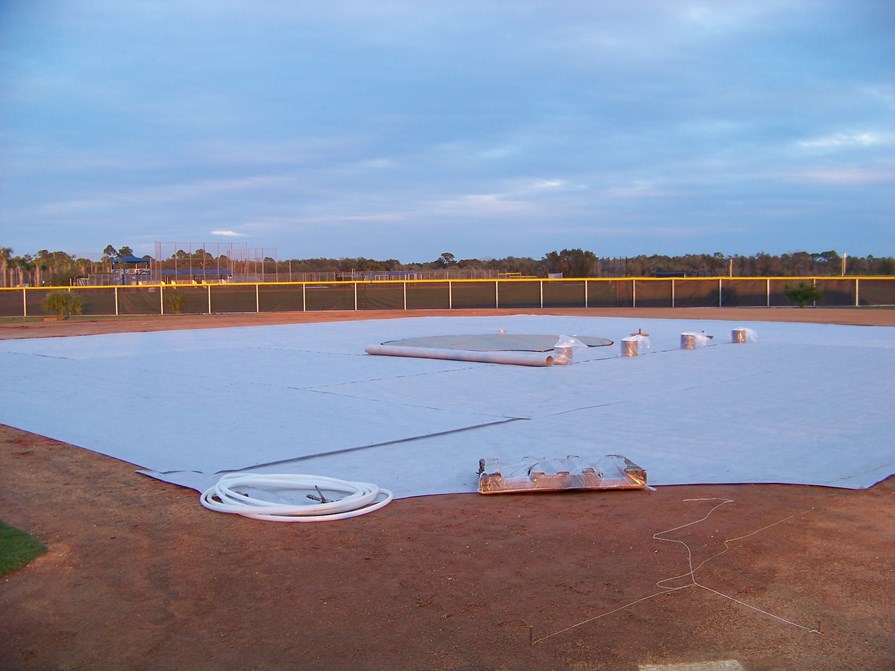
Permeable geo-textile is applied over compacted base. Fabric is anchored in place with landscape spikes. Overlap pattern is created in order to direct water properly towards base paths. Area is ready for panels. Geo fabric installation 2 hrs – 2 workers
Panels are cut and outer teeth removed to create a straight edge with solid outer wall. First rows are assembled to establish proper layout. A gap of 1 inch is left between existing base path and panels. A large block of panels is assembled to allow for accurate layout, ultimately creating a perfect square. Panels are staged around perimeter. Installation of panels. Panels are pulled in place. Panels are assembled and trimmed around mound. Pitcher’s mound complete. Panels almost complete. Base path arcs marked and cut. 12” wide impermeable geo-textile slides under panels, up the sides and stapled to top to prevent unwanted moisture from getting to base paths. Gap between base path and panels is cleaned out Elapsed time for panel installation 3 hours – 7 workers
Turf is rolled easily on to the panels with no fear of movement or panel shifting. Turf is pulled in place following marks placed on panels. Unrolled turf is pulled in place. Turf grippers help workers move turf across the panels. Turf is laid flat and panel turf barbs hold it in place with minimal sliding. All the turf panels are in place. Turf is trimmed, ready for seaming. Glue sled glides easily over panels depositing glue evenly on impermeable seam cloth. Turf edges are carefully aligned and placed in glue. Seams are rolled repeatedly to insure strong bond. One side of turf is stapled to the panels every 3 inches eliminating the need for a nailer board. Turf grain runs towards the first row of staples. Guide lines are anchored into the ground so that infill machine runs in accurate passes. Elapsed time turf installation 4 hours – 4 workers
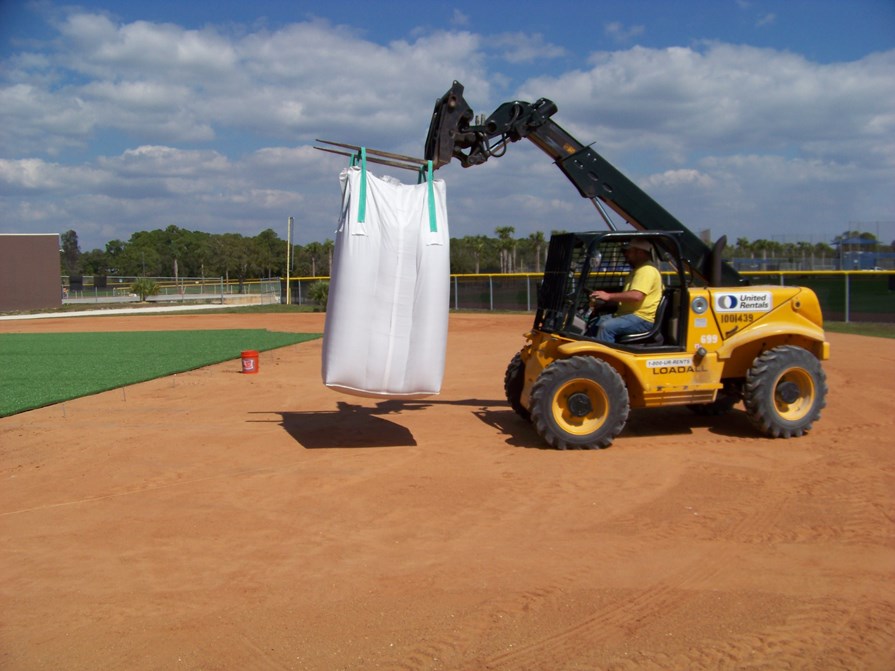
Sand and rubber infill is trucked on sight. Infill is loaded into the spreader. Infill process begins. Infill process continues depositing the infill evenly and making the turf ready for play.
Project is complete.


